

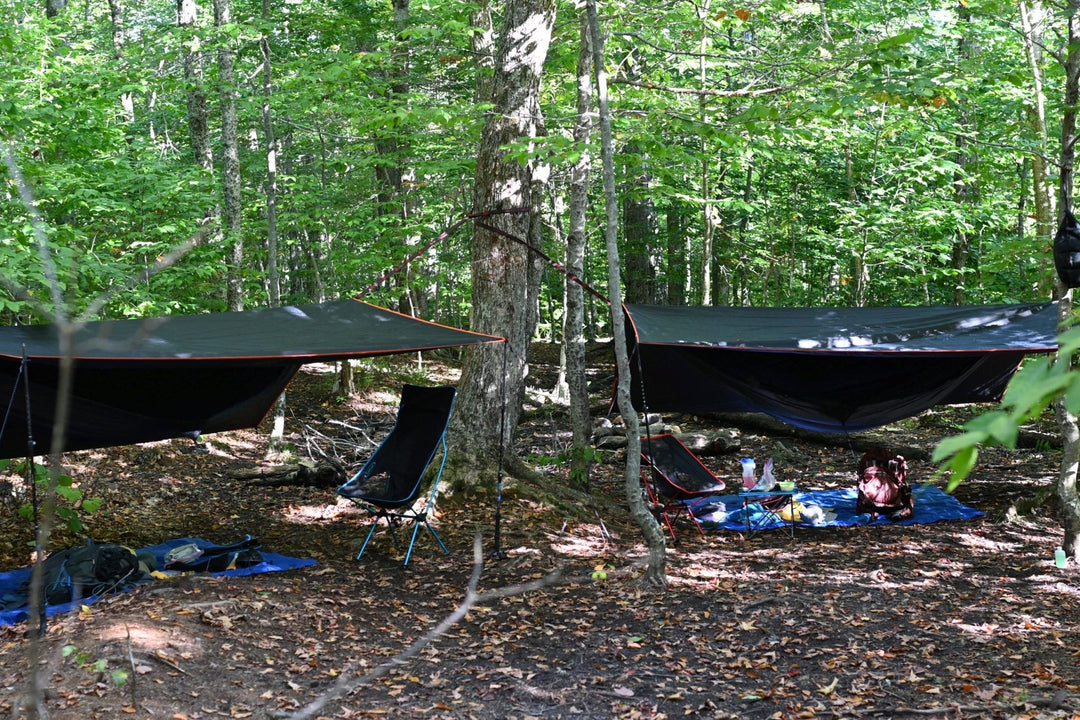
How To Stay Warm In A Hammock?


When you are just making the switch from ground to Hammock Camping, it’s a safe bet to say you may have a sleeping pad. If not, you can pick one up for pretty cheap. This, paired with a sleeping bag, will be many’s first attempt at sleeping insulated in a hammock. The sleeping pad will give you a barrier between the cold under you, and your body. You will then use your sleeping bag as you traditionally would.
Earlier it was stated that you are really only limited by your creativity. This setup was one that I used just starting out and didn’t have money to spend on a lot of new gear. What this involves is an old rectangular sleeping bag that completely unzips. What you do for this is to unzip the sleeping bag and when you are zipping it back up, off set the zipper so you will create a hole in the end of your bag that you will thread your hammock suspension through. This will create a sleeping bag “cocoon” around your hammock. This prevents you from compressing the insulation and keeps you warm.

Pro Tip:
- Hang your “cocoon” while you are hanging your hammock. That way you don’t have to set it up later.
- When you offset the zipper, you can hand sew the teeth above the zipper to prevent the teeth from coming unzipped.
- Cinch the opening of the bag around you so it hugs you and keeps the heat in.
PROS:
- Can make from materials that you may already have on hand
- Cocoons you while you are in your hammock
- Makes entering and exiting your hammock easier
CONS:
- Makes getting a diagonal lay hard/ not possible
- Takes some modification to work
The last form of Hammock Insulation that will be explained is using an Under Quilt and Top Quilt. This setup will most likely be the most comfortable for you and will keep you the warmest. This system is a two part system that consists of a form of a quilt/sleeping bag that hangs under your hammock and then either a quilt or sleeping bag for top coverage.

Your Under Quilt will be suspended under you and your hammock with bungee’s, hooks, clips and the like. This will ensure that the quilt will form a seal around the hammock and your body, preventing the wind from stealing your body heat. Under Quilts can be made from many materials and insulations. What you choose to use will affect the weight, warmth, and compression size of your Under Quilt.
Top Quilts can be something as simple as a quilt or blanket that you carry with you, a mummy sleeping bag that you unzip, or a custom made Top Quilt. Something to keep in mind when getting your Top Quilt is a “foot box”. This is an area in the bottom of the Top Quilt that allows you to insert your feet and keep them warm while you sleep.
Pro Tip:
- Ensure that your Under Quilt stays snug to you and your hammock to prevent heat loss
- Top Quilts work best with a foot box
PROS:
- Makes getting in and out of hammock simple
- Probably the warmest sleeping option for hammock camping
- No fighting with sleeping pad
CONS:
- Costly, especially if you don’t make your own
- Takes practice to get a snug fit

Leave a comment